
AirStack Core Installation
This documentation is written for the latest version of AirStack Core (v2.4+). For flashing versions of AirStack (v2.0-2.3.1), please see these instructions. For flashing versions of AirStack (v1.x and earlier), please see these instructions.
This procedure is used to install the AirStack Core software suite onto an AIR-T. This software contains both the underlying operating system for the Jetson module as well as drivers and board support for the hardware interfaces present on the AIR-T. Installing AirStack Core will restore your AIR-T's software to factory settings and delete all user data.
NOTE : If you are having issues flashing your device, check out our FAQ: AirStack Installation FAQ.
Prerequisites
To flash the AIR-T you will need:
- An x86 host machine running Linux
- This procedure was tested using Ubuntu 24.04 LTS, although Ubuntu 18.04 and later will work, as will many other Linux distributions.
- An AIR-T
- Keyboard, mouse, and monitor plugged into the AIR-T
- Micro-USB cable
- AirStack software downloaded from the Developer Portal at www.deepwave.ai
AirStack Installation Procedure
NOTE: FLASHING THE AIR-T WILL ERASE EVERYTHING ON THE OPERATING SYSTEM. MAKE SURE THAT YOU HAVE A BACKUP OF ANYTHING YOU NEED PRIOR TO PERFORMING THIS PROCEDURE
As of Airstack 2.1+ Deepwave provides an install tool to simplify updating your devices. Follow these steps to run the AirStack Core Installer software:
1. Make sure that you have a proper backup of any personal code or files from the AIR-T.
2. Connect the MGMT port from the AIR-T to the Linux host computer.
3. Boot the AIR-T into recovery mode. See the section below for instructions.
4. Go to the directory in which AirStack was downloaded and extract the contents of the package. For example, if the software was downloaded to your Downloads folder, enter the following commands in a command shell:
cd ~/Downloads
tar -xzvf airstack-core-<VERSION>.tgz
cd airstack-core-<VERSION>
<VERSION> is replaced with the version you downloaded. 5. Start the AirStack Core Installer Tool:
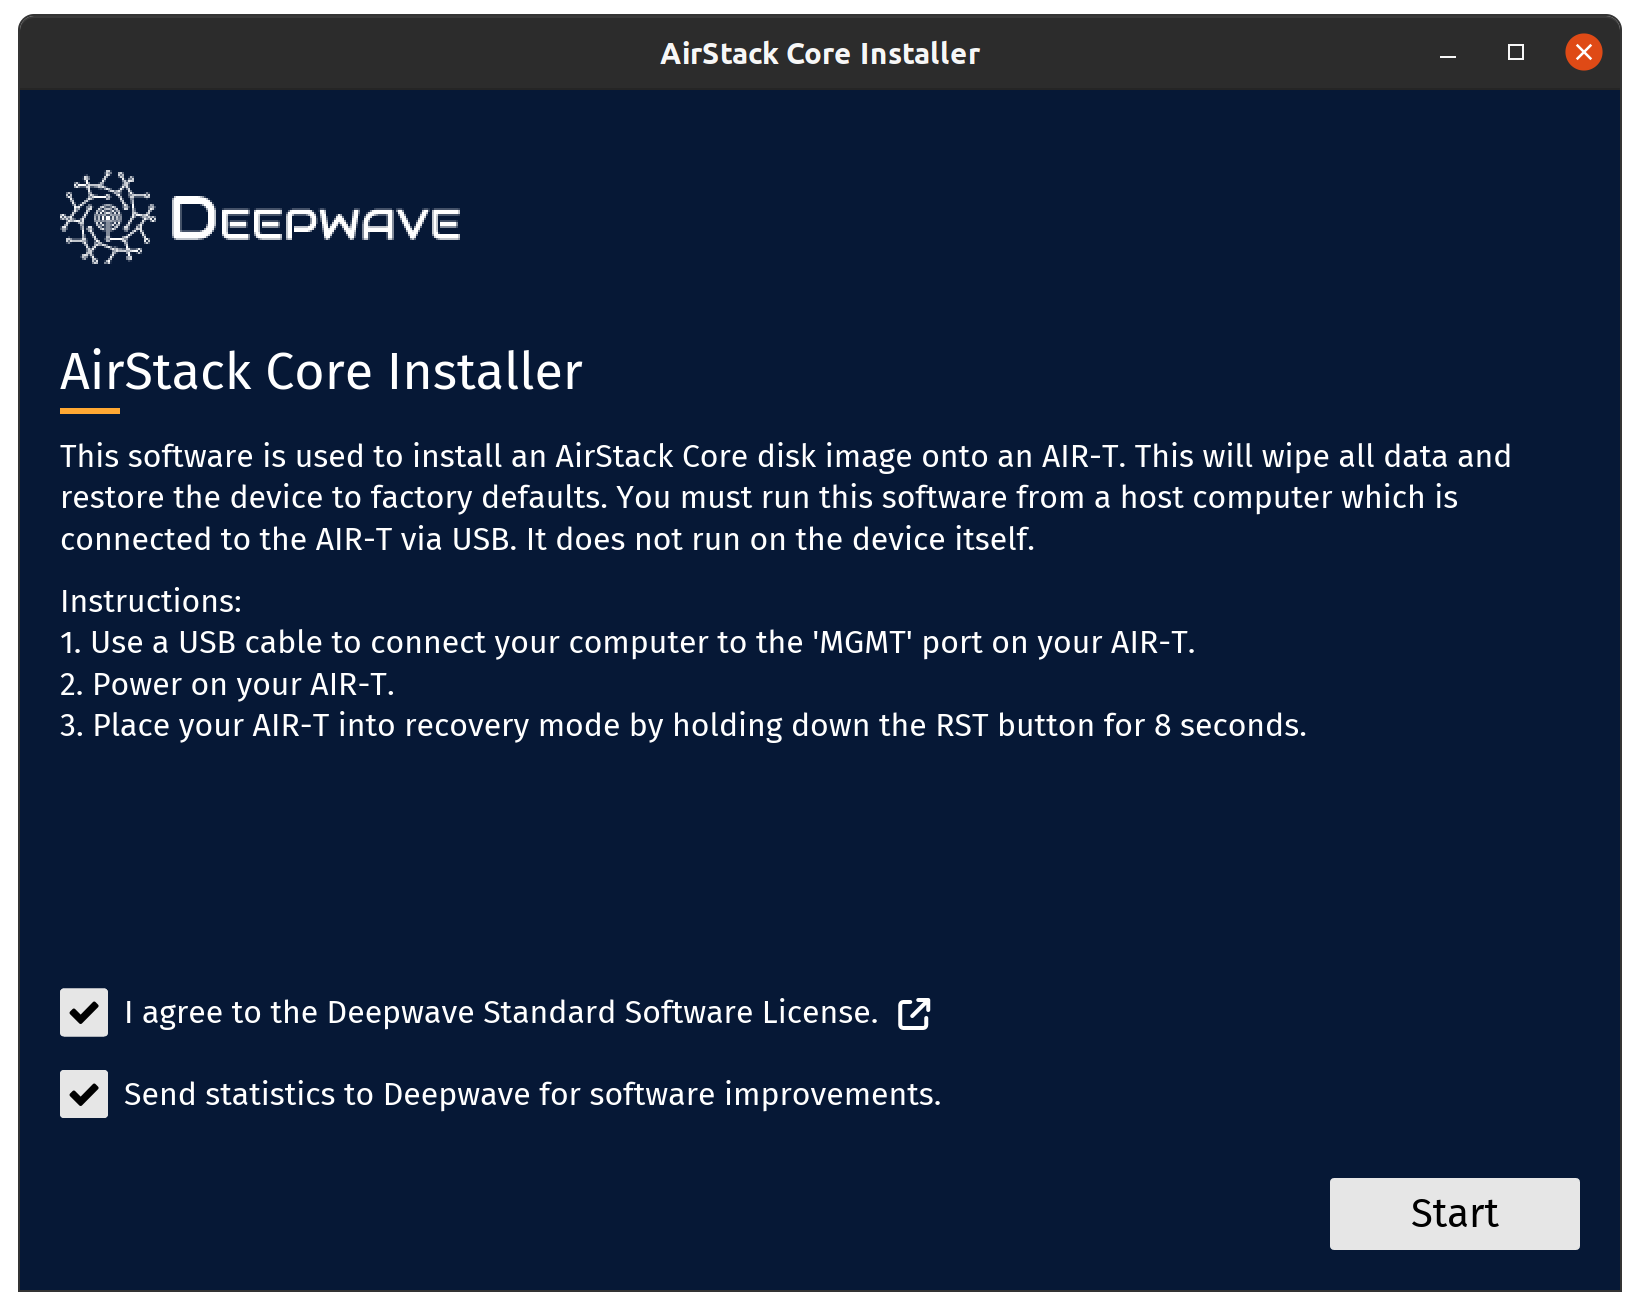
You will need to accept the AirStack Core license and press 'Start'.
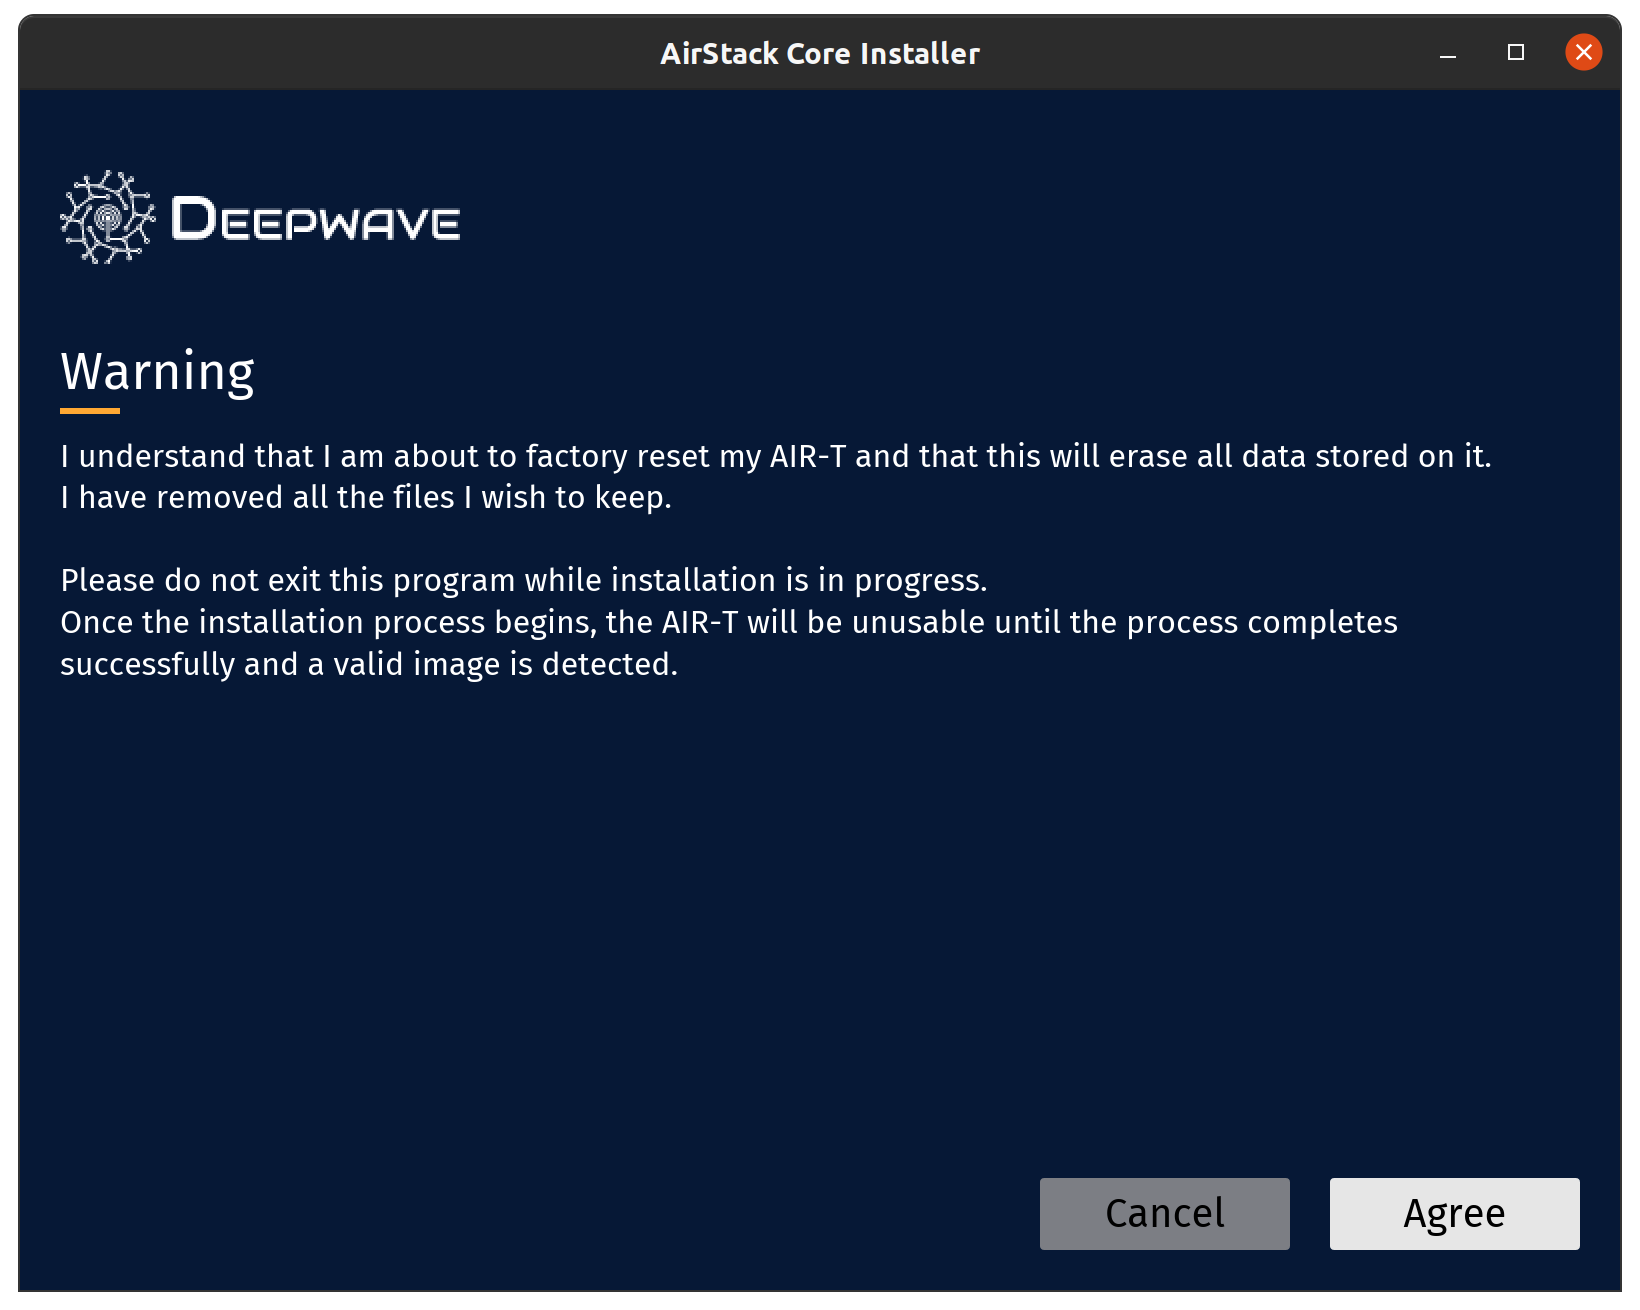
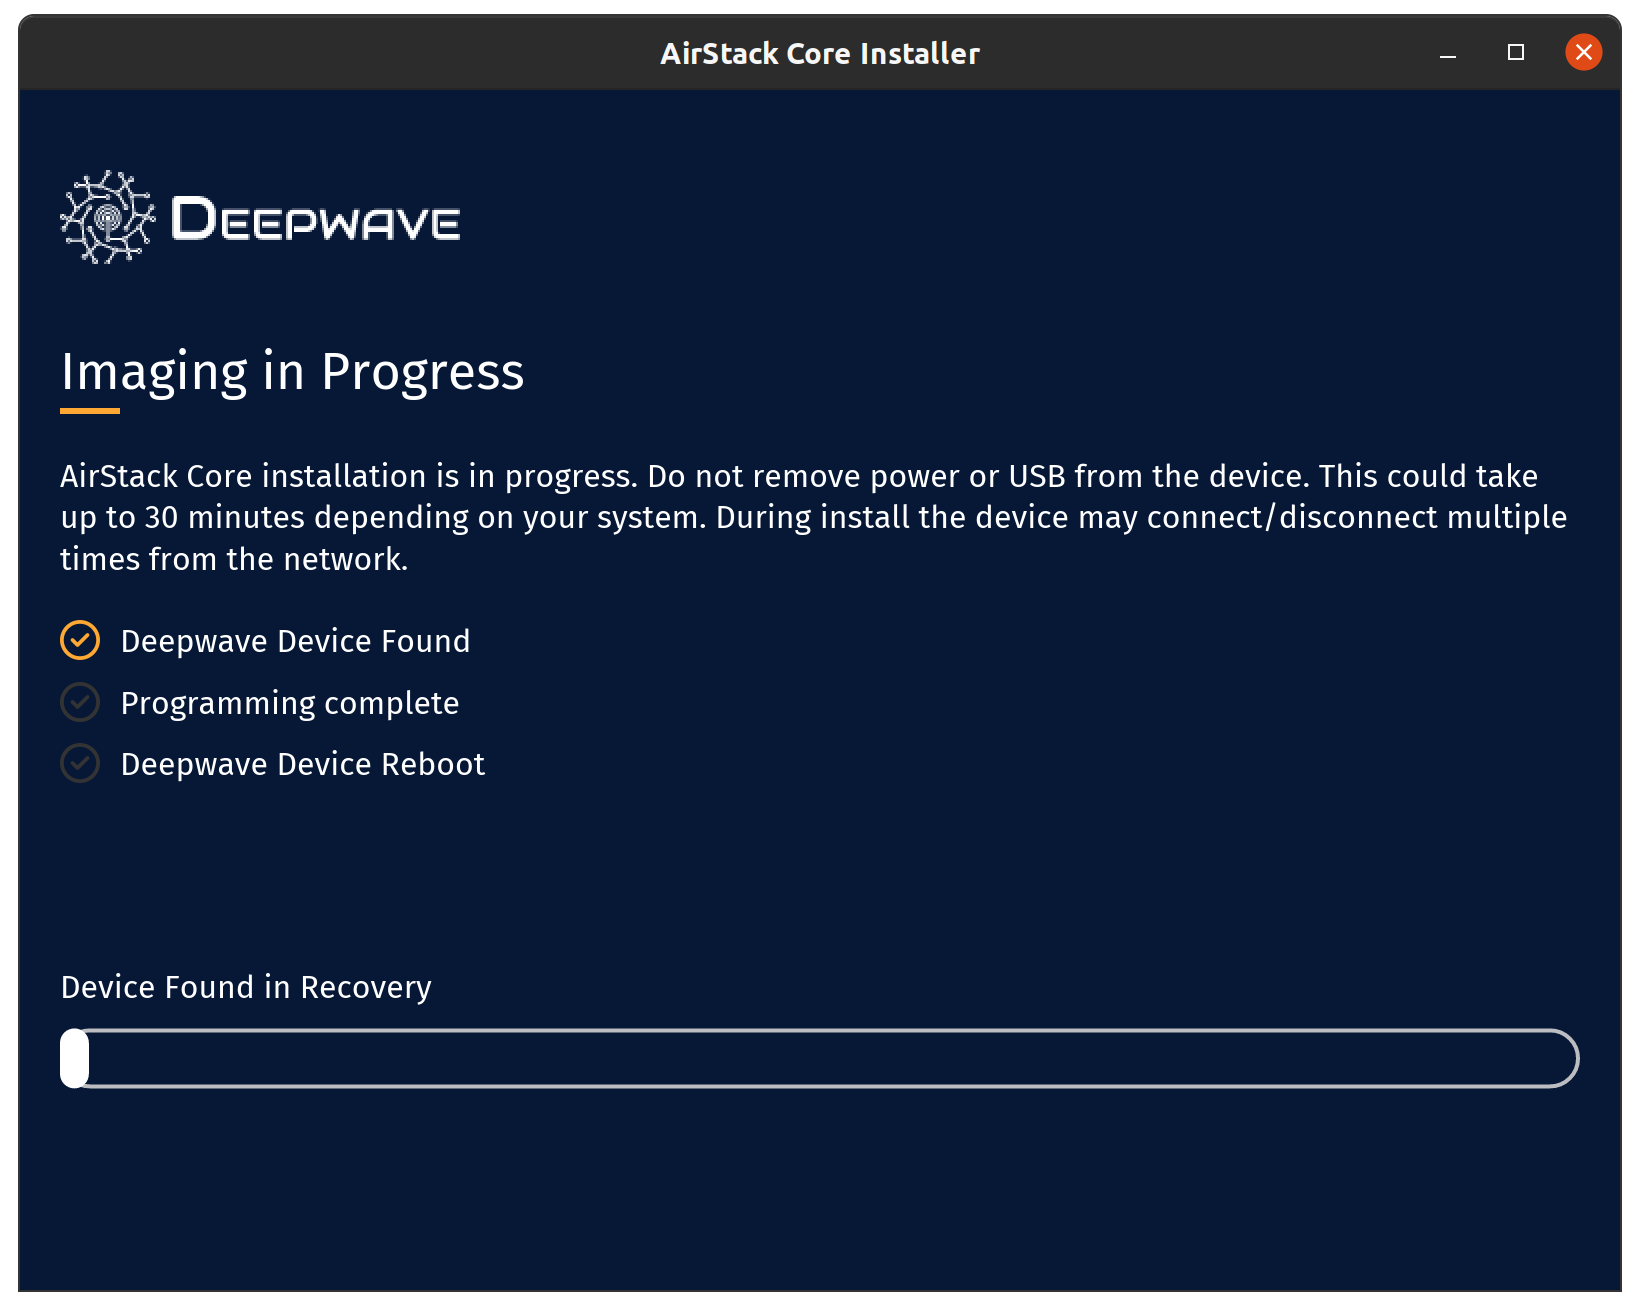
6. Click through to accept the warning and the installation will begin. This process can take up to 20 minutes.
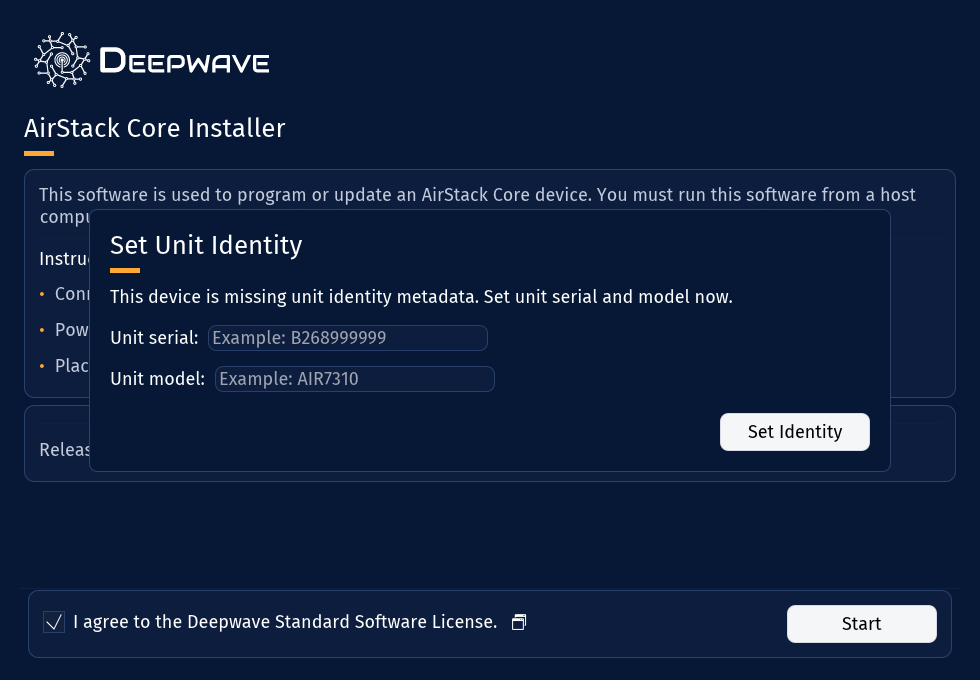
7. If this is the first time the device has been upgraded since the 2.4 software release, you will need to set the unit identity. This allows your device to be easily discoverable and your serial number to be more easily accessible. Set the unit serial to the serial number of your device (usually found on the back of the device). Set the unit model to the version of AIR-T hardware (likely AIR7310 or AIR7311).
8. Once the installation is complete you will see the success message below. You will now need to reset your device by switching the power to off or removing the power source from the device.
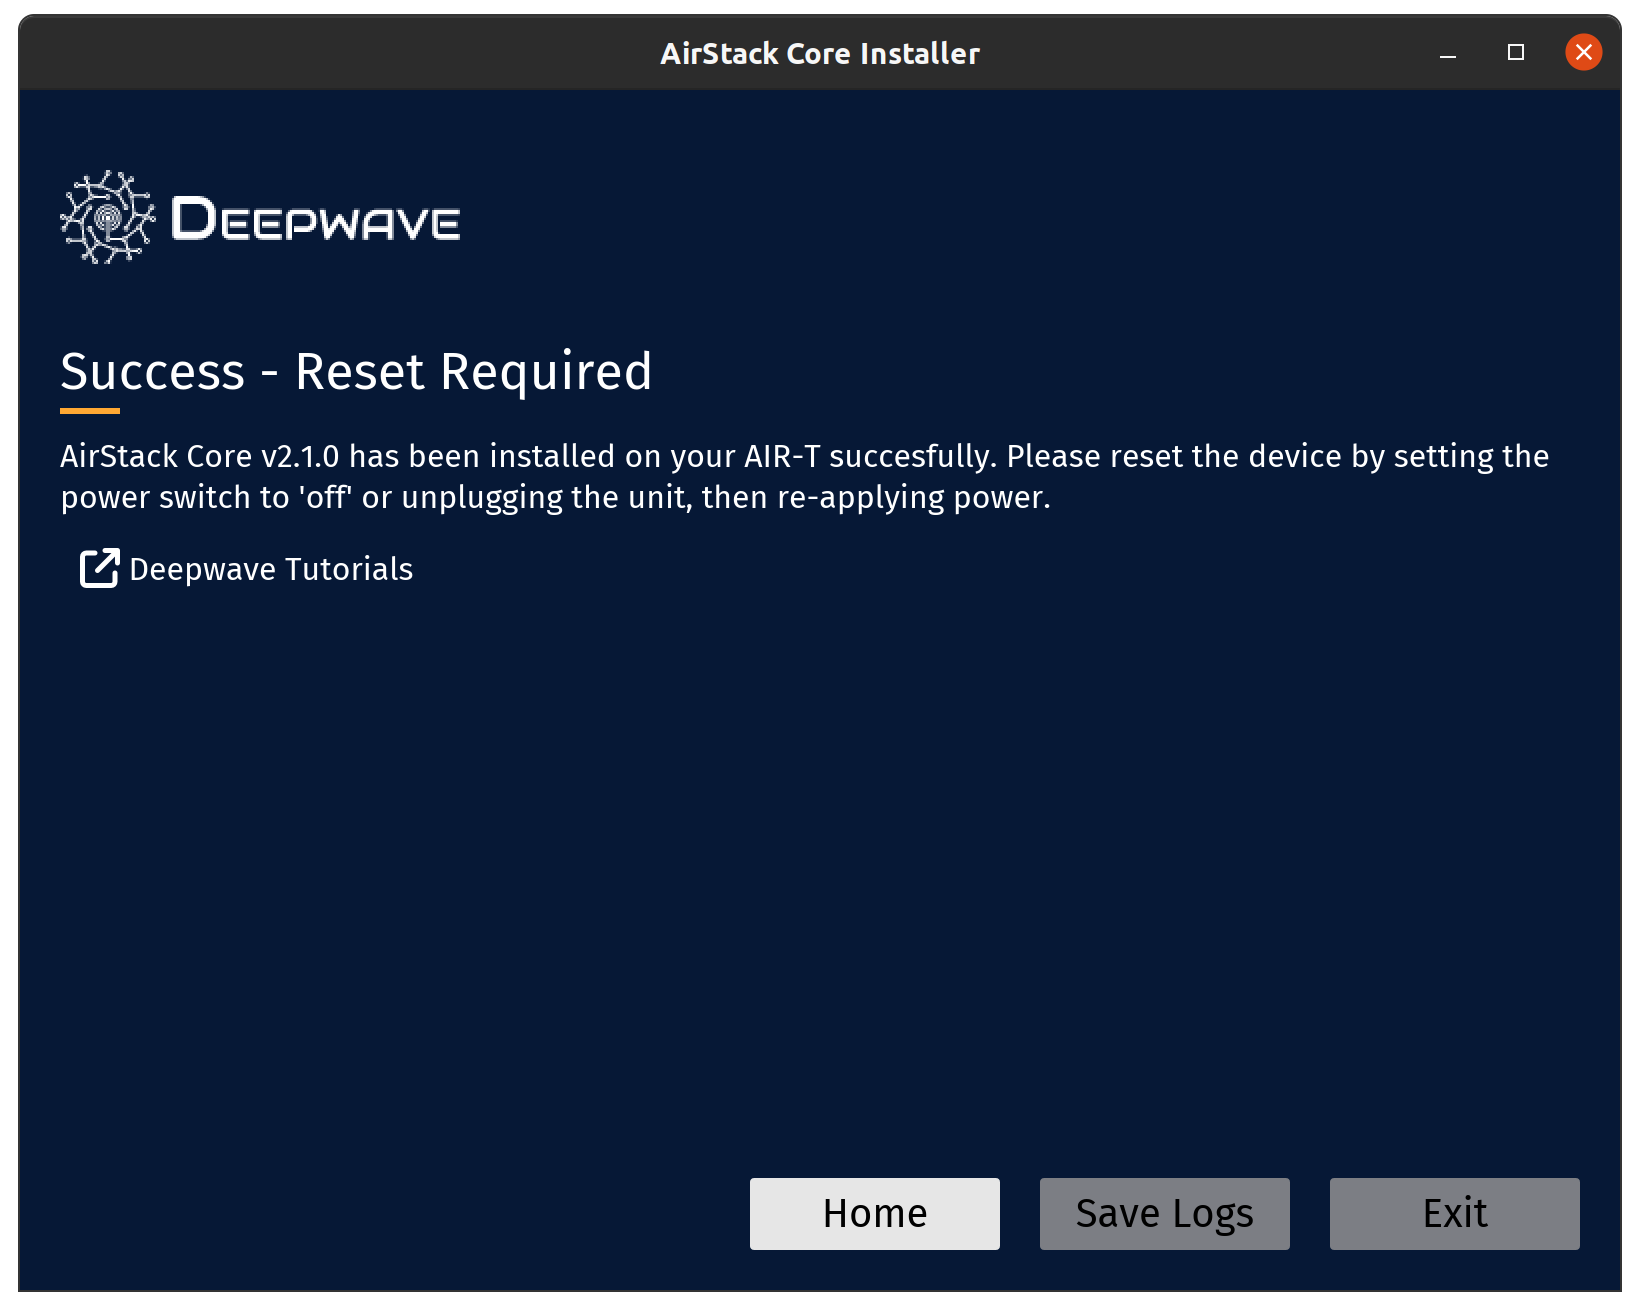
8. Once the AIR-T is re-booted, you will be prompted to create a user on the AIR-T. Follow the on-screen instructions and the AIR-T will reboot once this step has completed.
Installation Issues
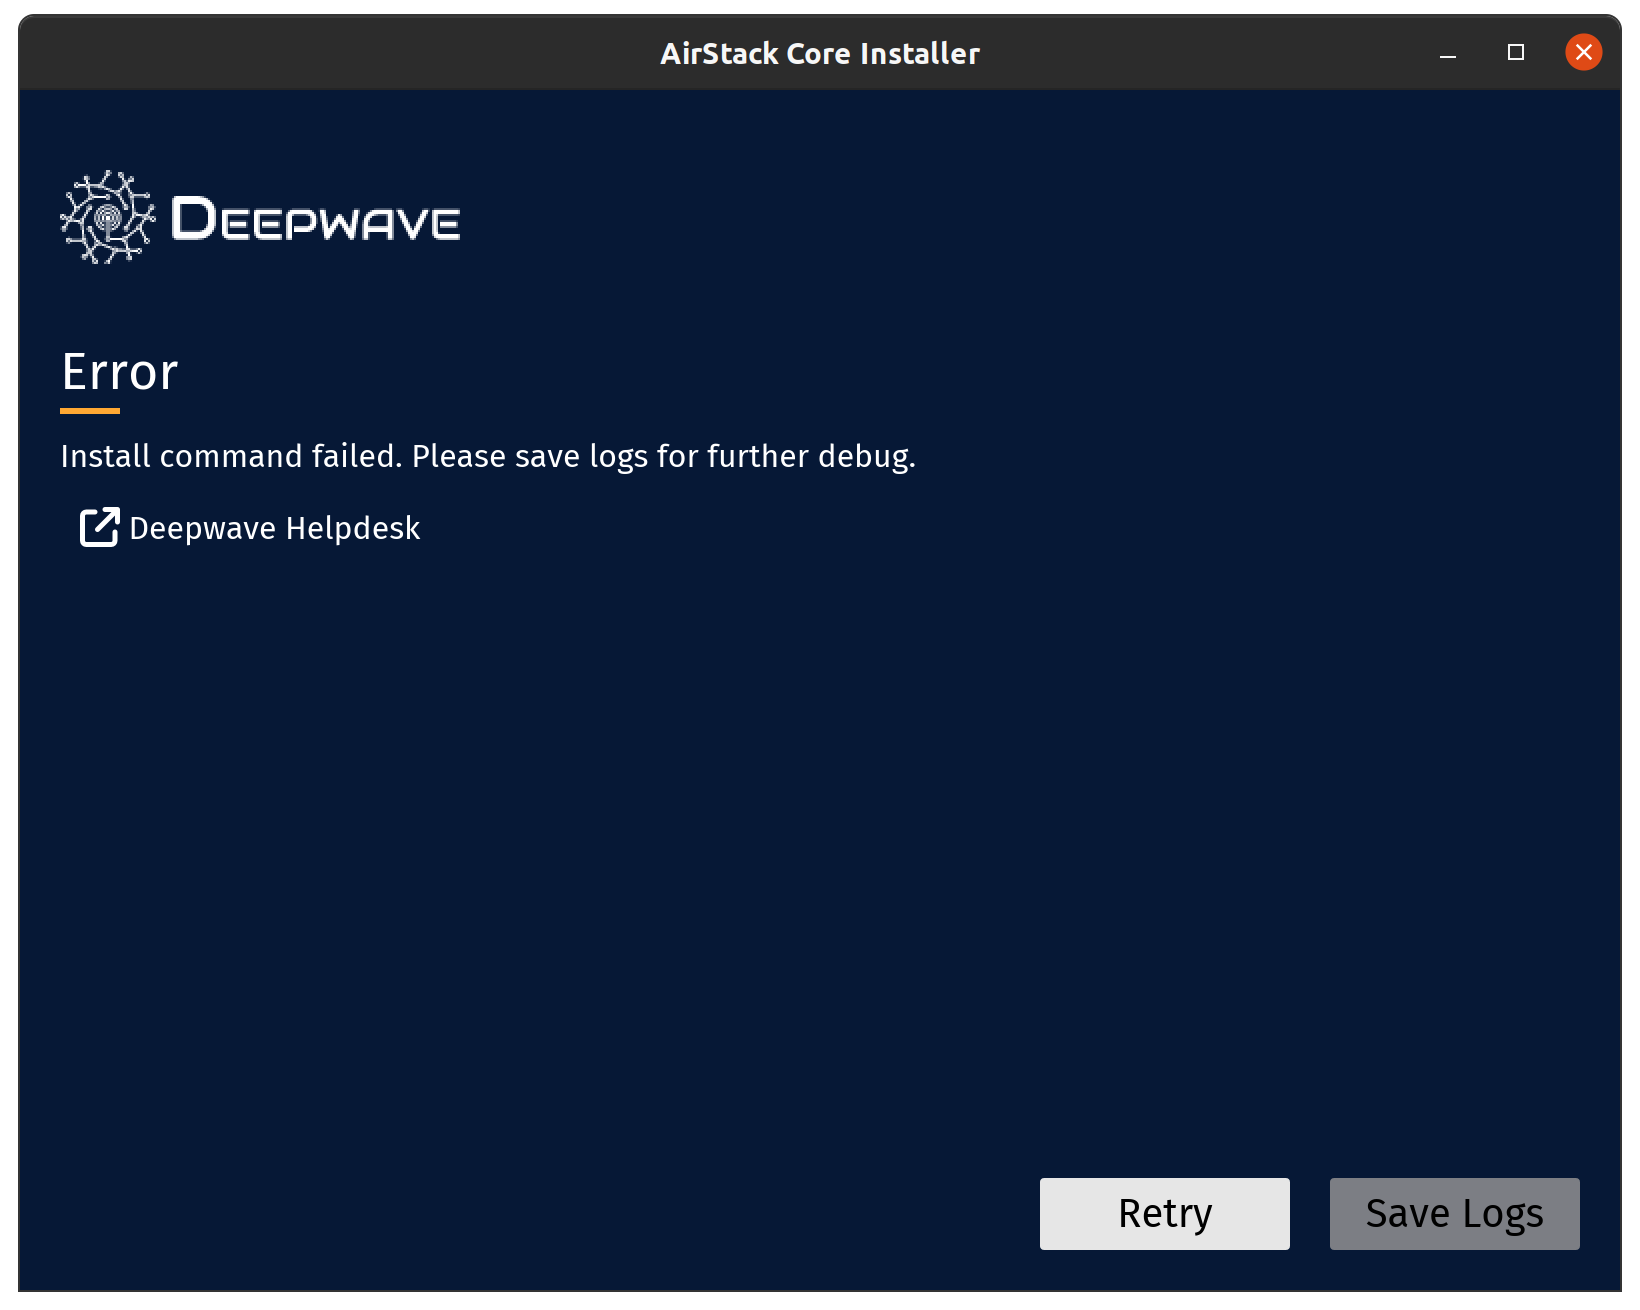
If there is a problem installing AirStack Core software on your AIR-T you will see an error message similar to the one below. If you are unable to move past the error on your own, please hit the 'Save Logs' button and submit a Deepwave helpdesk ticket with the logs attached.
Placing the AIR-T Into Recovery Mode
To place the AIR-T into recovery mode, follow this procedure. Note that you must be in a fresh recovery mode to flash the AIR-T (before each time the flash command is executed, the system must be power cycled into recovery mode).
Using Software
Connecting the AIR-T to a host computer via micro-USB establishes a link-local IPv6 connection. Using the included dft-host binary found in the release folder, you can:
-
Run
dft-host detectto print the IPv6 address for standard ssh or scp commands. -
Run
dft-host sshfor direct console access.
Once logged in to the AIR-T, enter the following command in a terminal window on the AIR-T:
reboot --force forced-recovery
Administrative permissions are required to execute the command, so a normal user will need to run with sudo. The board will immediately reboot and come up in recovery mode.
On the host, verify that the device is in recovery mode and communicating with your computer. See this section for details: Verification of Recovery Mode
Using Hardware Buttons
An AIR-T can be placed into recovery mode by using a reset button on the board itself. This allows you to recover the unit even if the operating system has been completely wiped.
-
Locate the reset (
RST) button on the AIR-T front panel -
Connect the AIR-T to the host computer using the micro-USB cable.
-
Press and hold the
RSTbutton for approximately 10 seconds.The status light on the radio will flash when you have held it long enough. -
On the host connected to the AIR-T via USB, verify that the device is in recovery mode and communicating with your computer using the procedure in the Verification of Recovery Mode section below.
Verification of Recovery Mode
To verify that your device is in recovery mode, you will use the output of the dft-host detect command from the host computer when the AIR-T is connected via the micro-USB cable and powered on.