
Basic Inference Workflow
This tutorial will walk you through a basic inference workflow using the AirStack Edge Client UI. You will use the browser UI to authenticate with an Edge device, enable radio control, upload and activate an inference model, configure a receive stream, register a Python webhook for results, and run the model from the Process tab.
The workflow is intended as a quick end-to-end validation path for a deployed AirStack Edge system. By the end, you should have a model in the READY state, an open stream using inference-compatible sample data, and continuous FFT inference output delivered to a webhook endpoint that plots each FFT result.
Before starting, make sure you have access to the Client UI, a bearer token for the device, and a model archive that is compatible with the Edge inference service. If you do not have one of these things for your device start here.
Note: If you do not want to rebuild the model used in this tutorial, you may download the simple_fft model here. For more information on creating and using your own inference applications see the documentation here.
Create or Download the Simple FFT Model
For this example we will use a simple PyTorch FFT model without metadata. The input is a real-valued float32 array that represents complex float32 samples as interleaved I/Q values. The output is a float32 array with shape [2, L], where row 0 contains the FFT real values and row 1 contains the FFT imaginary values. You may recreate this model yourself using the code below or download the prepackaged version from the archive link above.
import os
import torch
import tarfile


class IQFFT(torch.nn.Module):
    def forward(self, x):
        # x shape: [2L] interleaved: I0, Q0, I1, Q1, ...
        I = x[0::2]   # even indices
        Q = x[1::2]   # odd indices

        c = torch.complex(I, Q)         # shape [L]
        fft_out = torch.fft.fft(c)      # complex FFT [L]

        # Apply FFT Shift
        fft_out = torch.fft.fftshift(fft_out)

        # Return real/imag as [2, L].
        return torch.stack([fft_out.real, fft_out.imag], dim=0)


# Save TorchScript model for Triton
if __name__ == "__main__":
    model = IQFFT()
    model.eval()

    # Create directories
    os.chdir("/tmp")
    os.makedirs("simple_fft", exist_ok=True)
    os.makedirs("simple_fft/0", exist_ok=True)
    os.chdir("simple_fft/0")

    # Save the model file to this directory.
    example = torch.zeros(4096, dtype=torch.float32)  # 2048 complex samples
    traced = torch.jit.trace(model, example)
    traced.save("model.pt")

    # Change directory back to simple_fft.
    os.chdir("..")

    # Create and write to the config.pbtxt file
    with open("config.pbtxt", "w") as f:
        f.write("""name: "simple_fft"
platform: "pytorch_libtorch"
max_batch_size: 0

input [
{
    name: "INPUT__0"
    data_type: TYPE_FP32
    dims: [-1]     # [2L] interleaved IQ samples
}
]

output [
{
    name: "OUTPUT__0"
    data_type: TYPE_FP32
    dims: [2, -1]     # [2, L]
}
]
""")
    source_dir = "/tmp/simple_fft/"
    with tarfile.open("simple_fft.tar.gz", "w:gz") as tar:
        for fn in os.listdir(source_dir):
            p = os.path.join(source_dir, fn)
            tar.add(p, arcname=fn)
Step 1: Open the Client UI and Authenticate
Open the UI in a browser at https://<hostname:port>/ui/. The default port is 3000.
Note: If this is your first time using HTTPS with self-signed certificates see the application note here for information on secure browsing.
Enter your bearer token on the "Connect to Device" screen to authenticate.
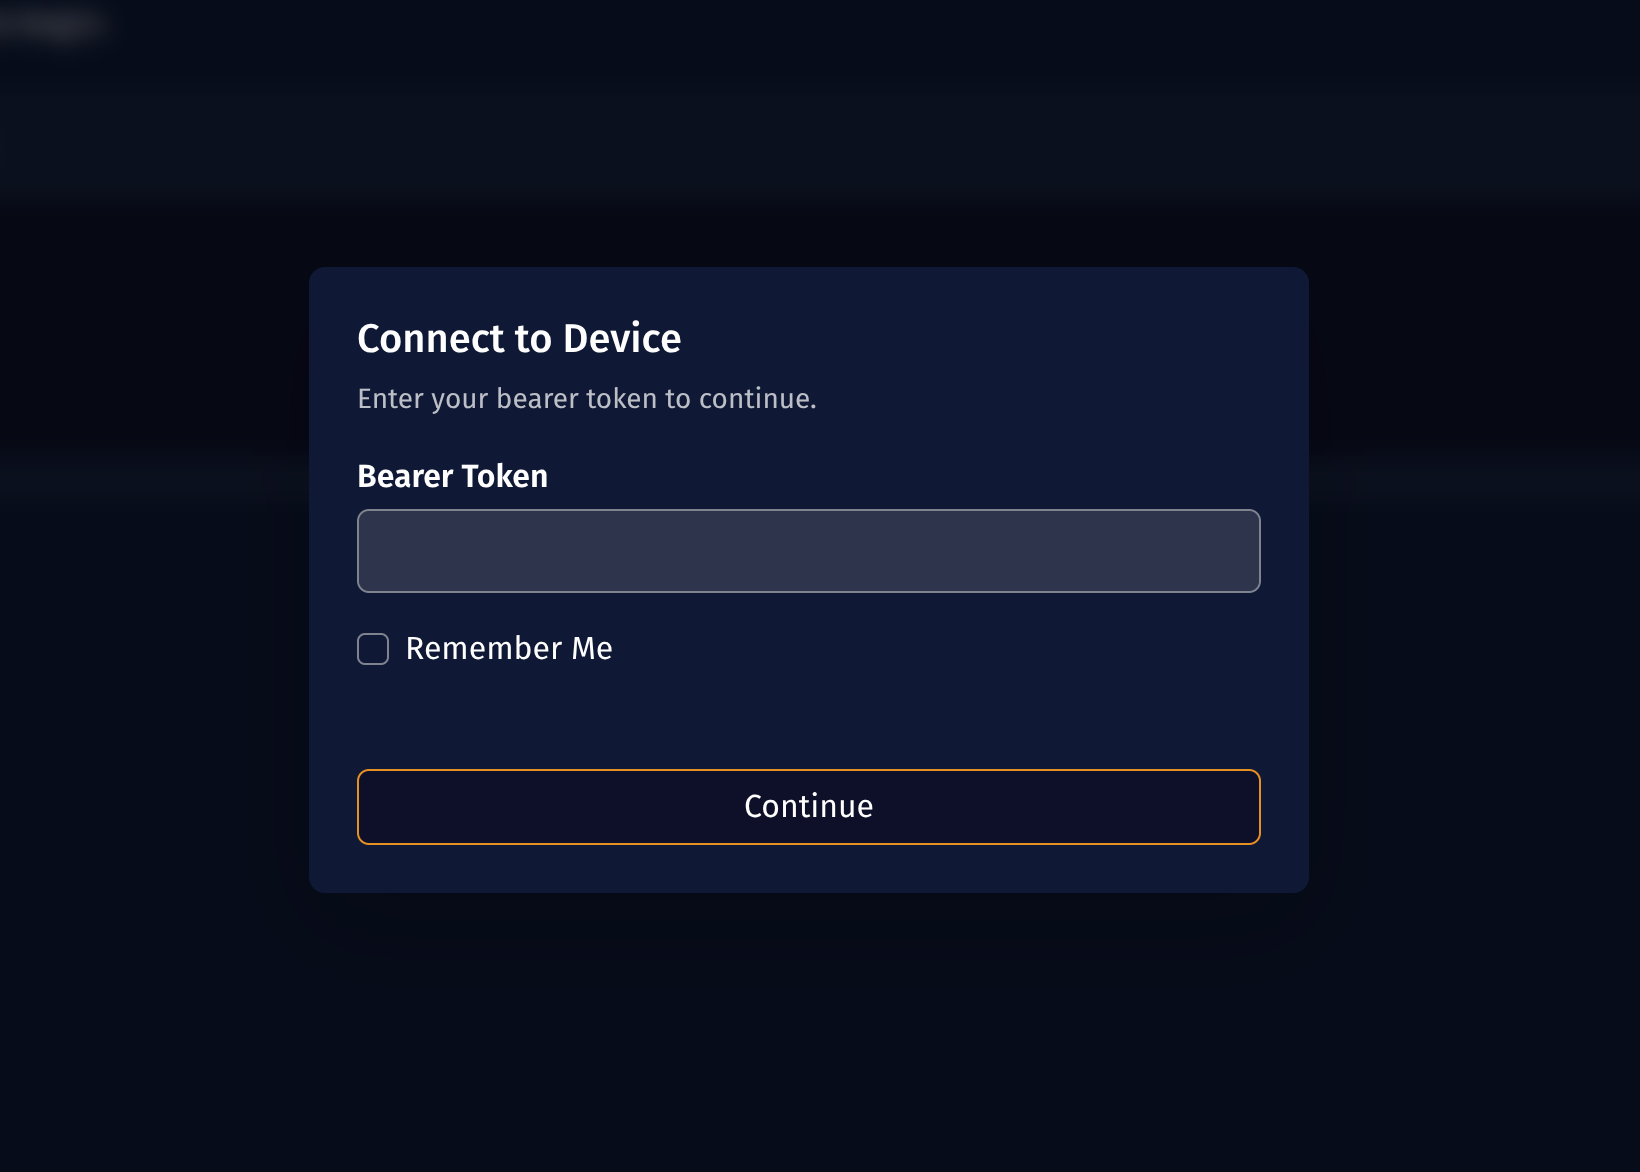
If you do not have a bearer token, see the configuration documentation on how to create one here.
Step 2: Enable the Device
On the left device sidebar, click Enable Device to take control of the RF frontend. The default parameters for time_source, clock_source, and master_clock_rate can be left as defaults. This gives the UI exclusive control of the RF Frontend.
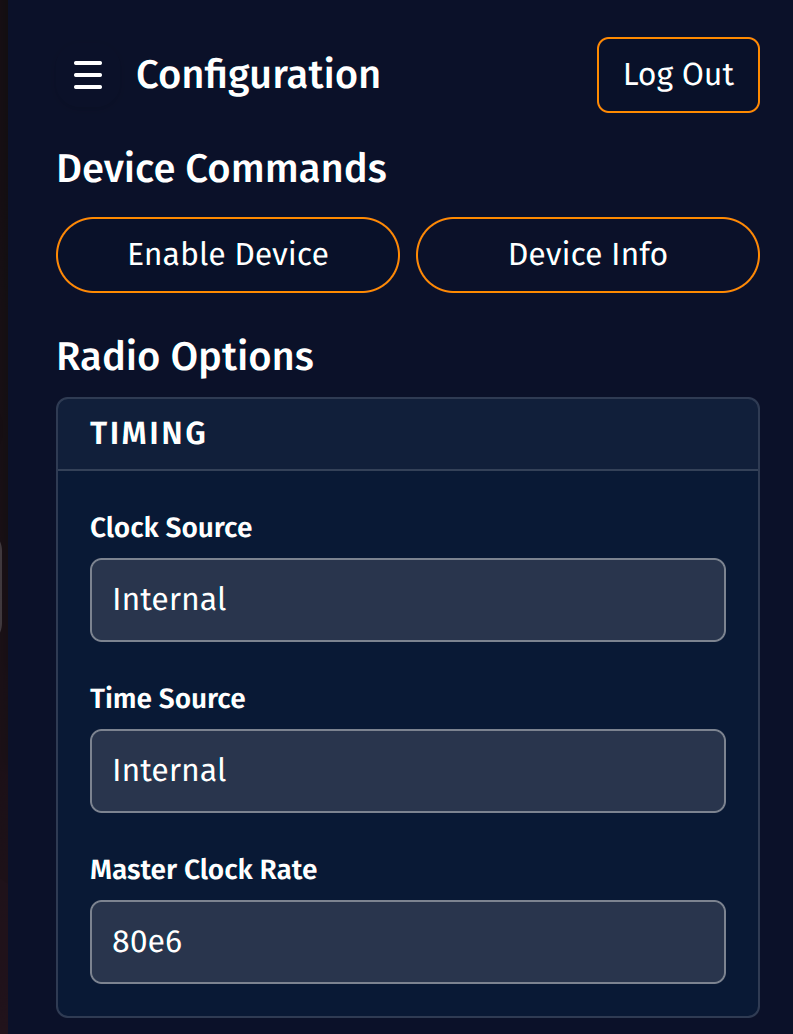
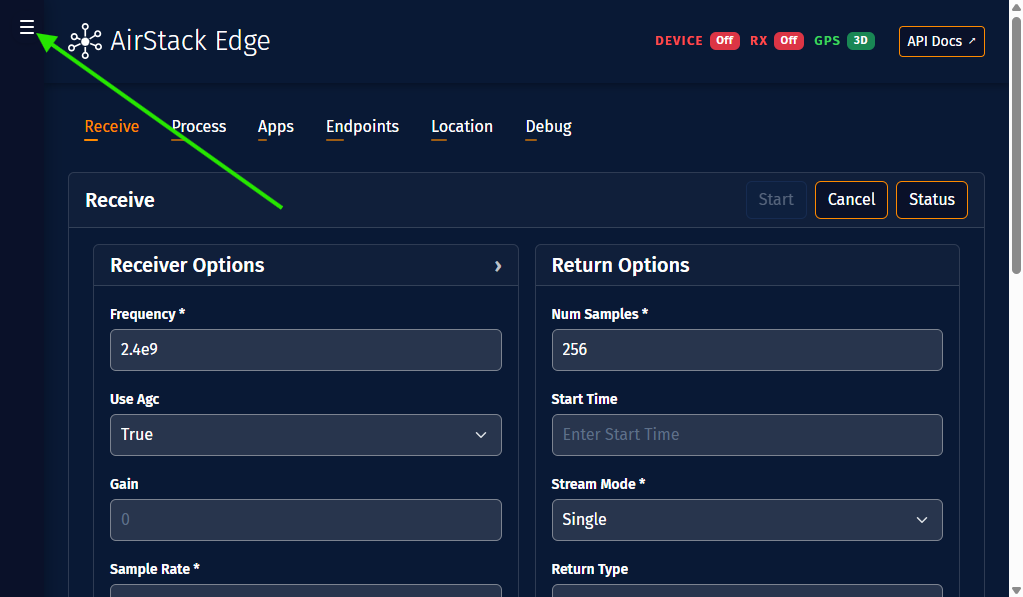
Note: For screen resolutions or windows sizes below 1024x768, click here to expand the device sidebar:
Step 3: Upload the Model (Apps Tab)
- Open the Apps tab.
- Click Upload.
- Select the simple fft model archive compressed file.
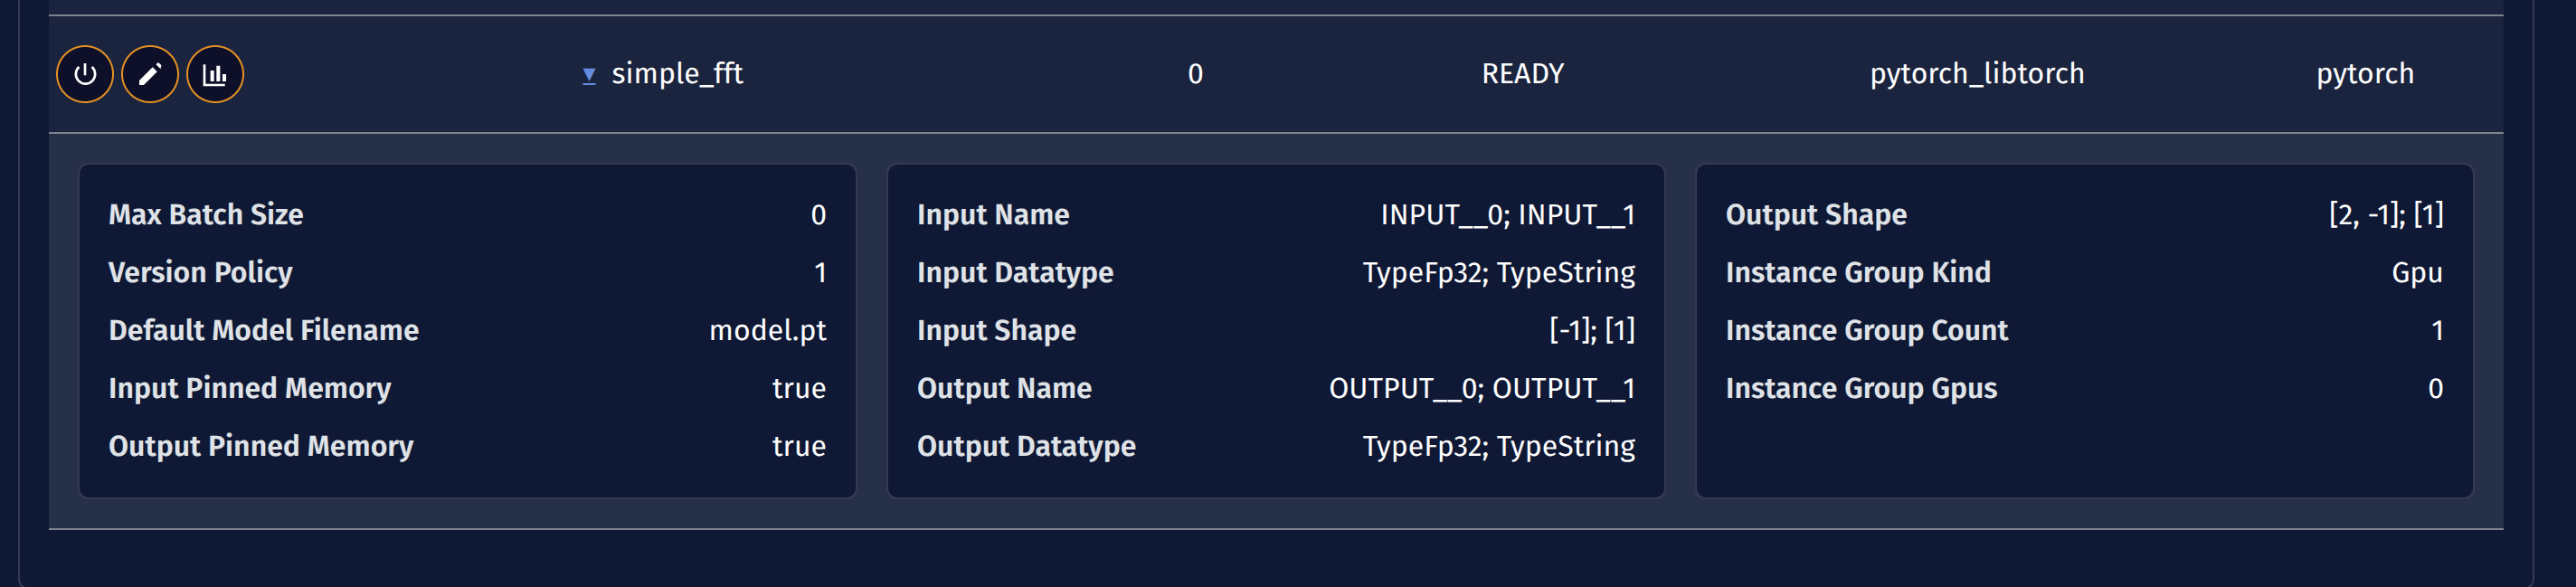
- Wait for the model to appear in the table and then click the power icon button to enable it.
- Wait for the model status to show READY.
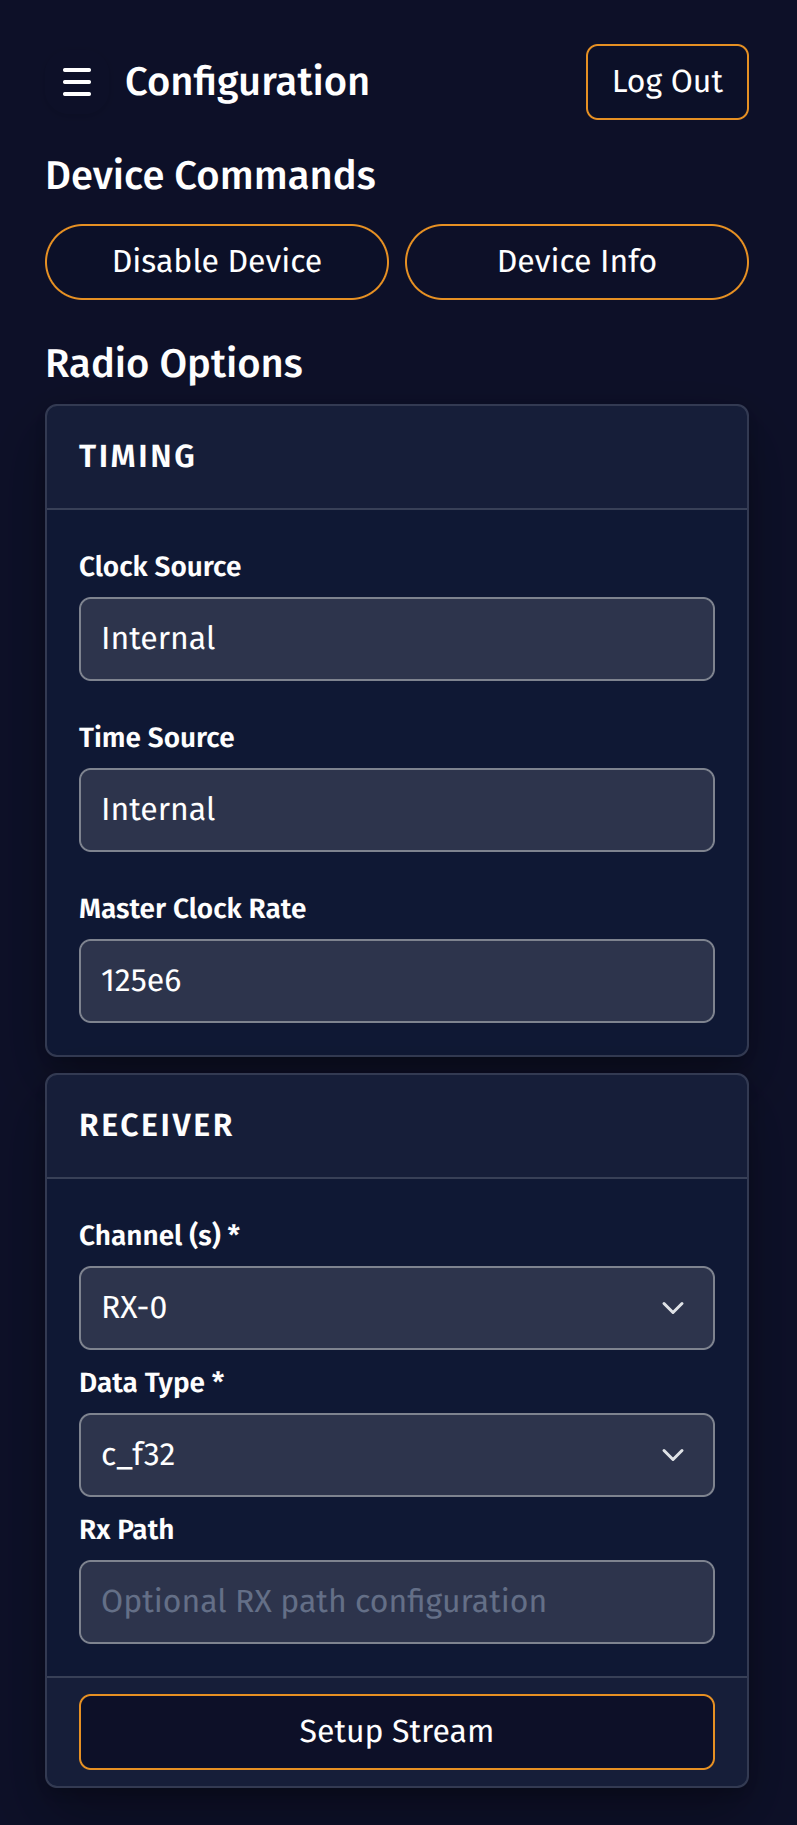
Step 4: Configure and Open the Stream (Device Sidebar)
- Open the Process tab.
- Set stream parameters (frequency, sample rate, gain, channel).
- Set data_type to
c_f32for inference. - Click Setup Stream on the Receiver card to open the RX stream.
Step 5: Create a Python FFT Webhook
Next we will create a webhook to receive results from our application. Webhooks allow a user to register an endpoint to receive results from the Edge service asynchronously. For a deeper dive in to webhooks see the application note here.
The simple_fft model emits the FFT result as two float arrays: row 0 contains real values and row 1 contains imaginary values. When the webhook is registered with json content type, Edge posts the numeric output as JSON. The webhook below reconstructs the complex FFT, saves a magnitude plot for each result, and prints a short summary. First we will setup the webhook on a client device (not your Edge device).
Install the Python dependencies on the computer that will receive webhook posts:
python3 -m pip install fastapi uvicorn numpy matplotlib
Create a file named fft_webhook_receiver.py:
import argparse
import json
import time
from pathlib import Path
from typing import Optional

import numpy as np
import uvicorn
from fastapi import FastAPI, Header, HTTPException, Request

app = FastAPI()
PLOT_FFT = False
FFT_OUT = Path(".")
EXPECTED_AUTH = None


@app.post("/edge/fft")
async def fft_webhook(
    request: Request,
    authorization: Optional[str] = Header(default=None),
):
    if EXPECTED_AUTH and authorization != EXPECTED_AUTH:
        raise HTTPException(status_code=401, detail="invalid webhook authorization")

    data = await request.json()
    result = json.loads(data) if isinstance(data, str) else data

    fft = np.asarray(result, dtype=np.float32)
    if fft.ndim == 1:
        fft = fft.reshape(2, -1)
    fft_complex = fft[0] + 1j * fft[1]
    magnitude_db = 20 * np.log10(np.maximum(np.abs(fft_complex), 1e-12))
    bins = np.arange(fft_complex.size) - (fft_complex.size // 2)

    summary = {
        "max_fft_mag": float(np.abs(fft_complex).max()),
        "sample_count": int(fft_complex.size),
    }

    if PLOT_FFT:
        import matplotlib.pyplot as plt

        FFT_OUT.mkdir(parents=True, exist_ok=True)
        plot_path = FFT_OUT / f"fft_{time.time_ns()}.png"
        plt.figure()
        plt.plot(bins, magnitude_db)
        plt.xlabel("FFT bin")
        plt.ylabel("Magnitude (dB)")
        plt.tight_layout()
        plt.savefig(plot_path)
        plt.close()
        summary["plot"] = str(plot_path)

    print(json.dumps(summary, separators=(",", ":")))
    return {"ok": True}


if __name__ == "__main__":
    parser = argparse.ArgumentParser()
    parser.add_argument("--plot", action="store_true")
    parser.add_argument("--out-dir", default="fft_plots")
    parser.add_argument("--auth", default=None)
    parser.add_argument("--host", default="0.0.0.0")
    parser.add_argument("--port", type=int, default=9090)
    args = parser.parse_args()

    PLOT_FFT = args.plot
    FFT_OUT = Path(args.out_dir)
    EXPECTED_AUTH = args.auth
    uvicorn.run(app, host=args.host, port=args.port)
Next we will start the webhook receiver code:
python fft_webhook_receiver.py --plot --out-dir fft_plots --host 0.0.0.0 --port 9090
The webhook URL must be reachable from the Edge device. If the receiver is running on a workstation, use that workstation's IP address in the registration step, for example http://192.168.1.50:9090/edge/fft.
Step 6: Register the Webhook (Webhooks Tab)
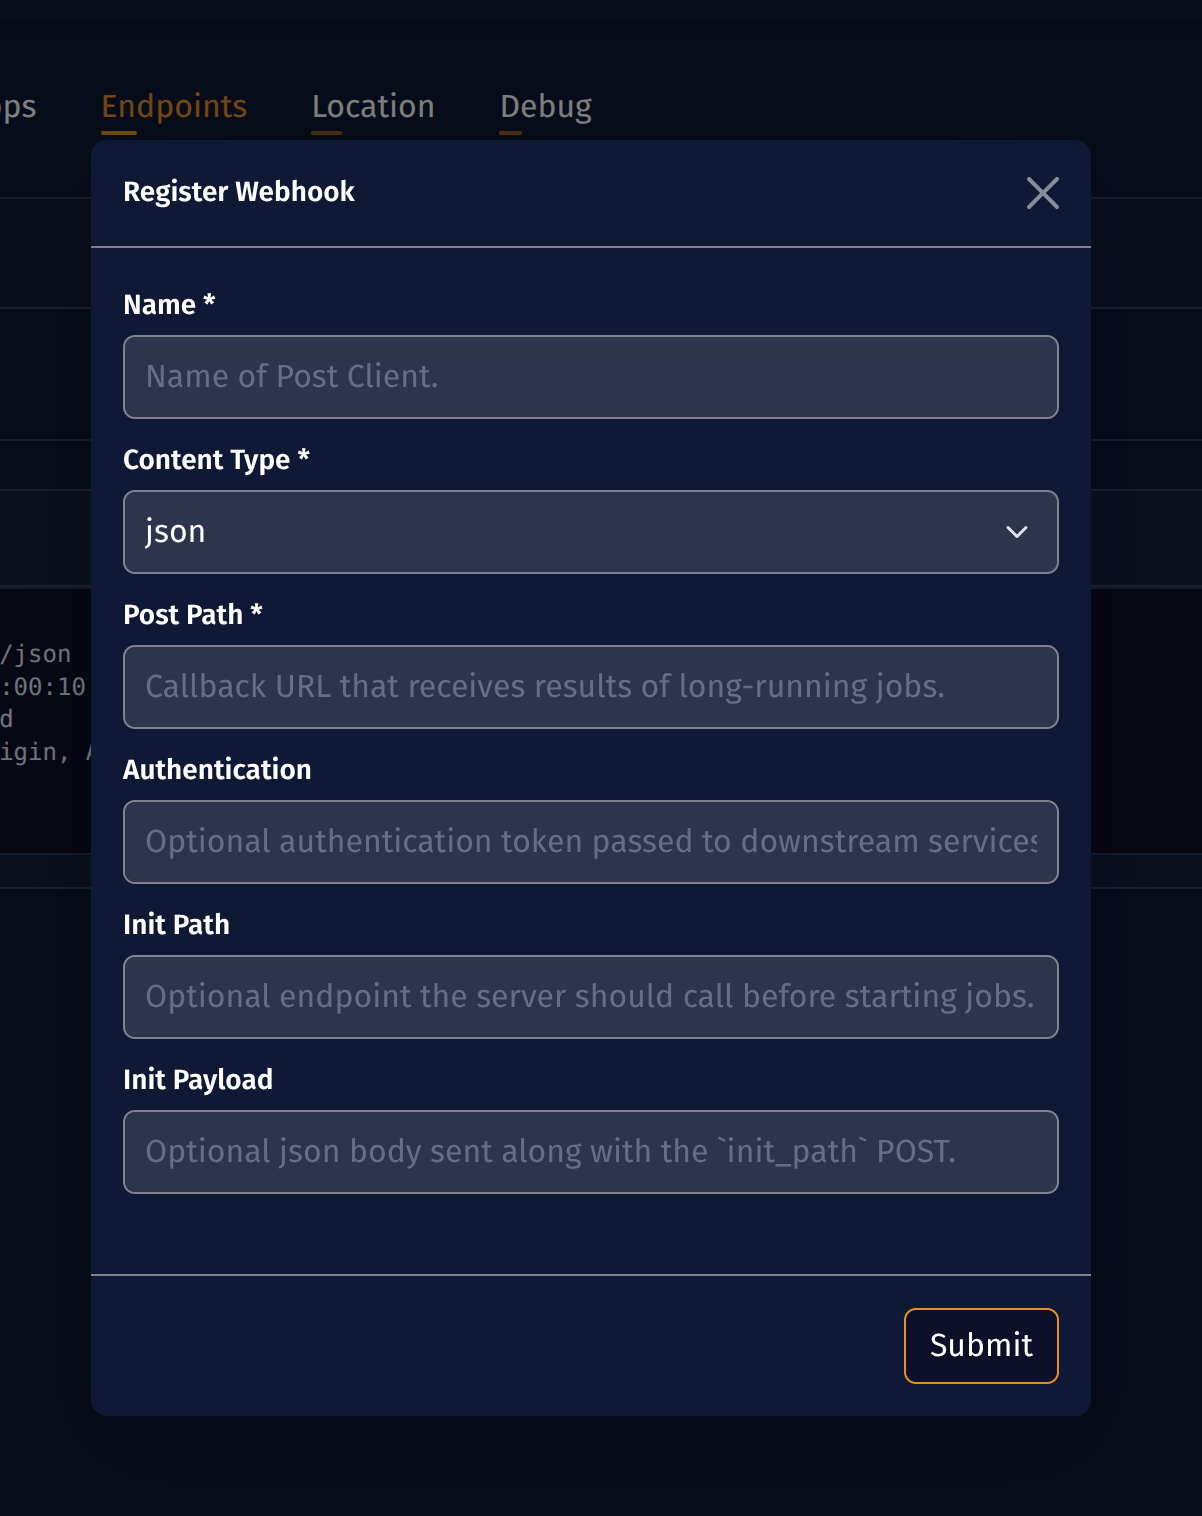
- Open the Endpoints tab.
- Click Register.
- Set Name to
FFT Plot Receiver. - Set Post Path to the receiver URL, for example
http://192.168.1.50:9090/edge/fft. - Set Content Type to
json, so Edge posts the numeric FFT output as JSON. - Leave the optional authentication, init path, and init payload fields empty.
- Submit the form and confirm that the webhook appears in the registered webhook list.
Step 7: Start the Application (Process Tab)
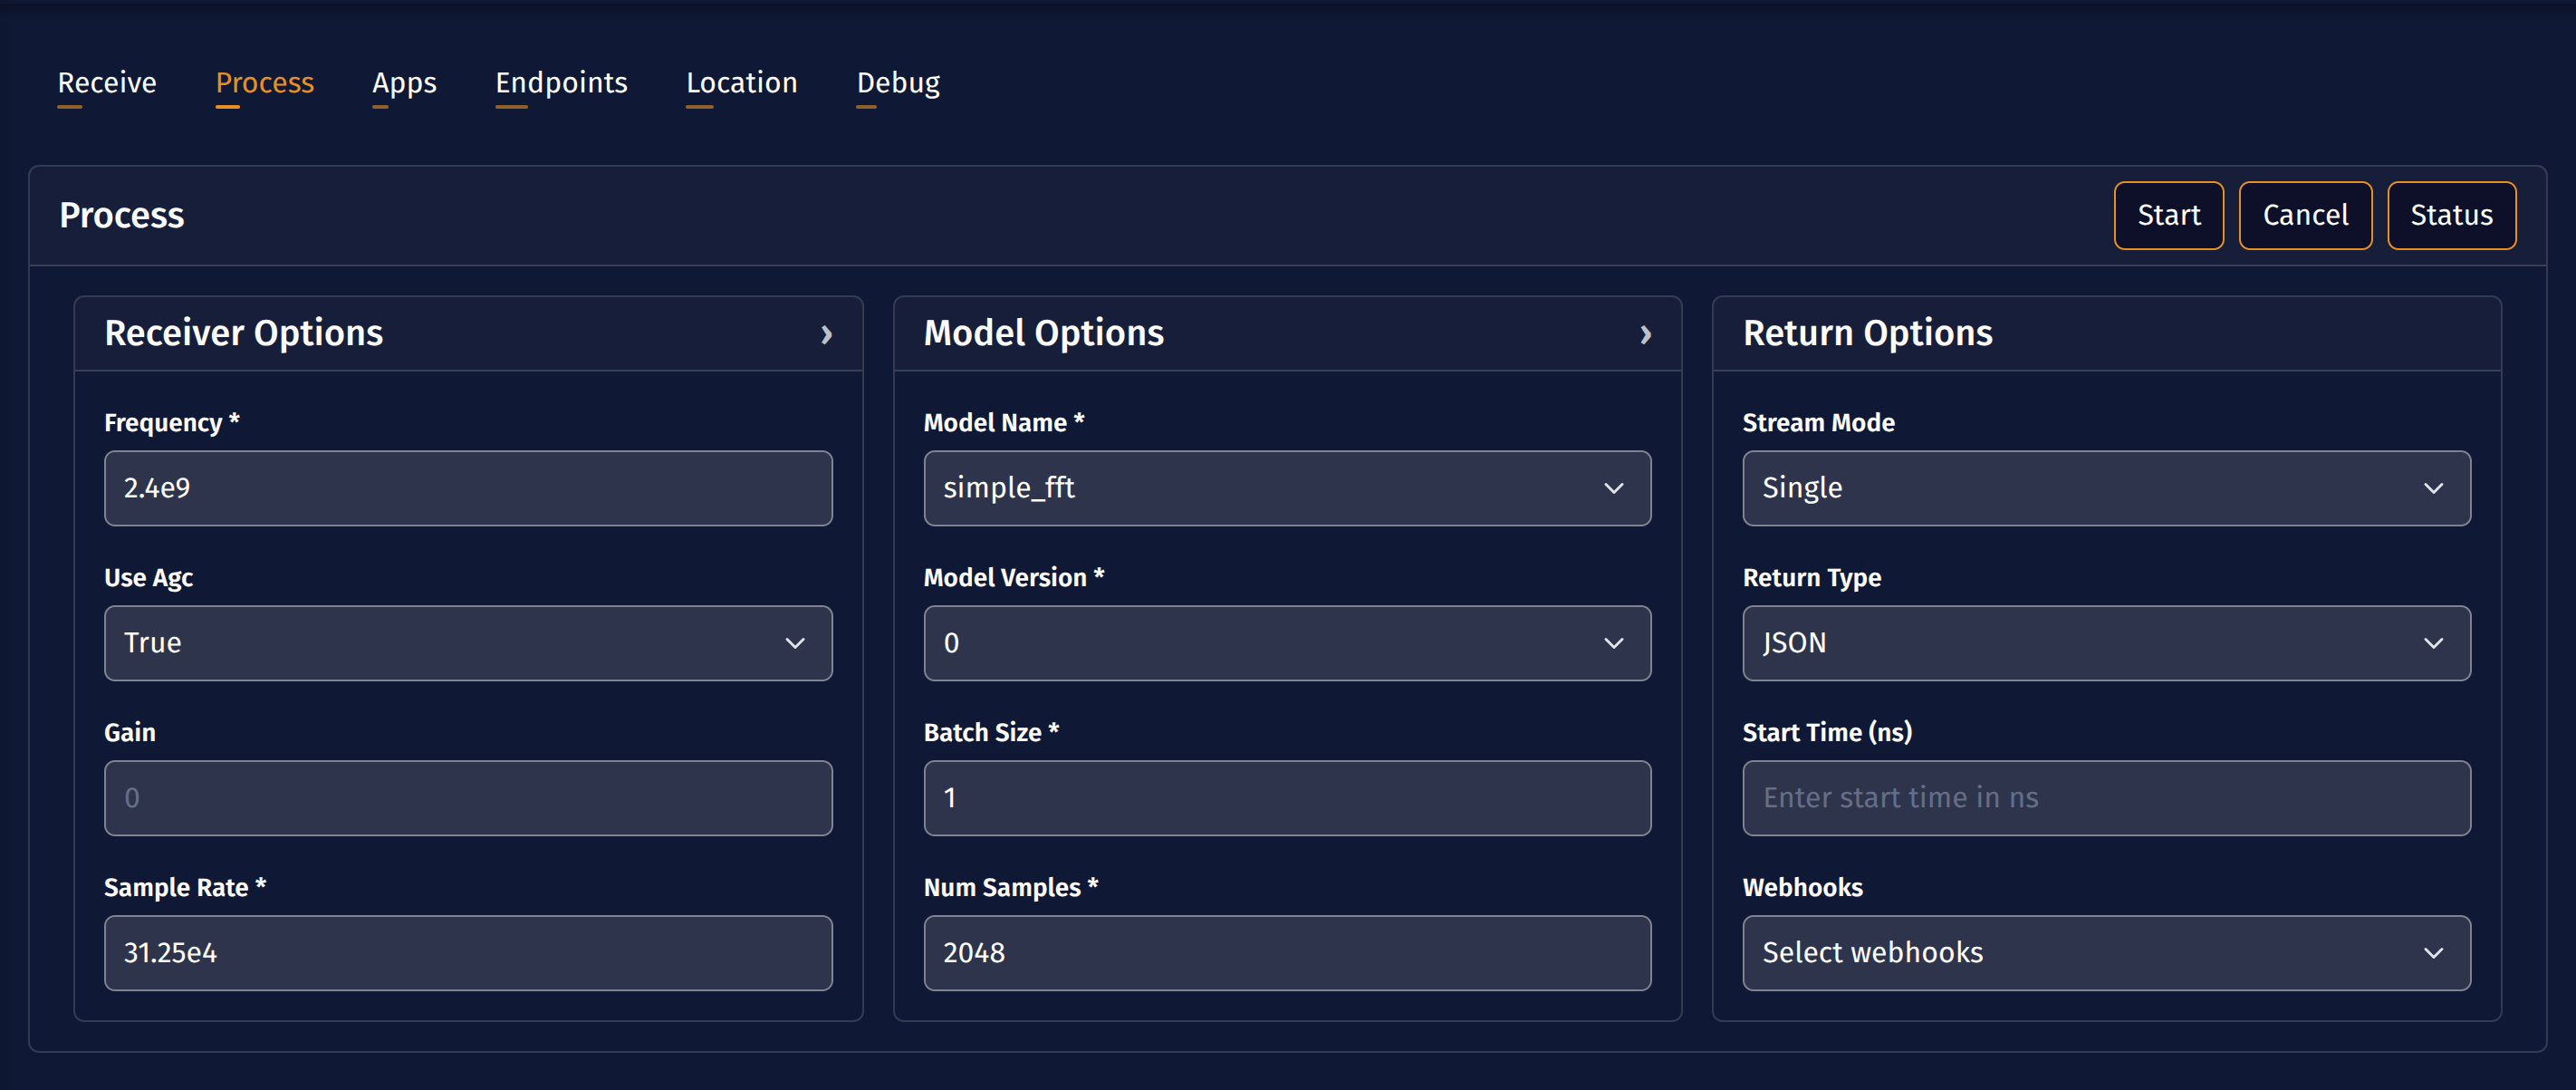
- Open the Process tab.
- Select your uploaded model.
- Set stream_mode to
continuous. - Select the registered
FFT Plot Receiverwebhook client. - Click Start to begin inference.
Step 8: Verify and Plot FFT Outputs
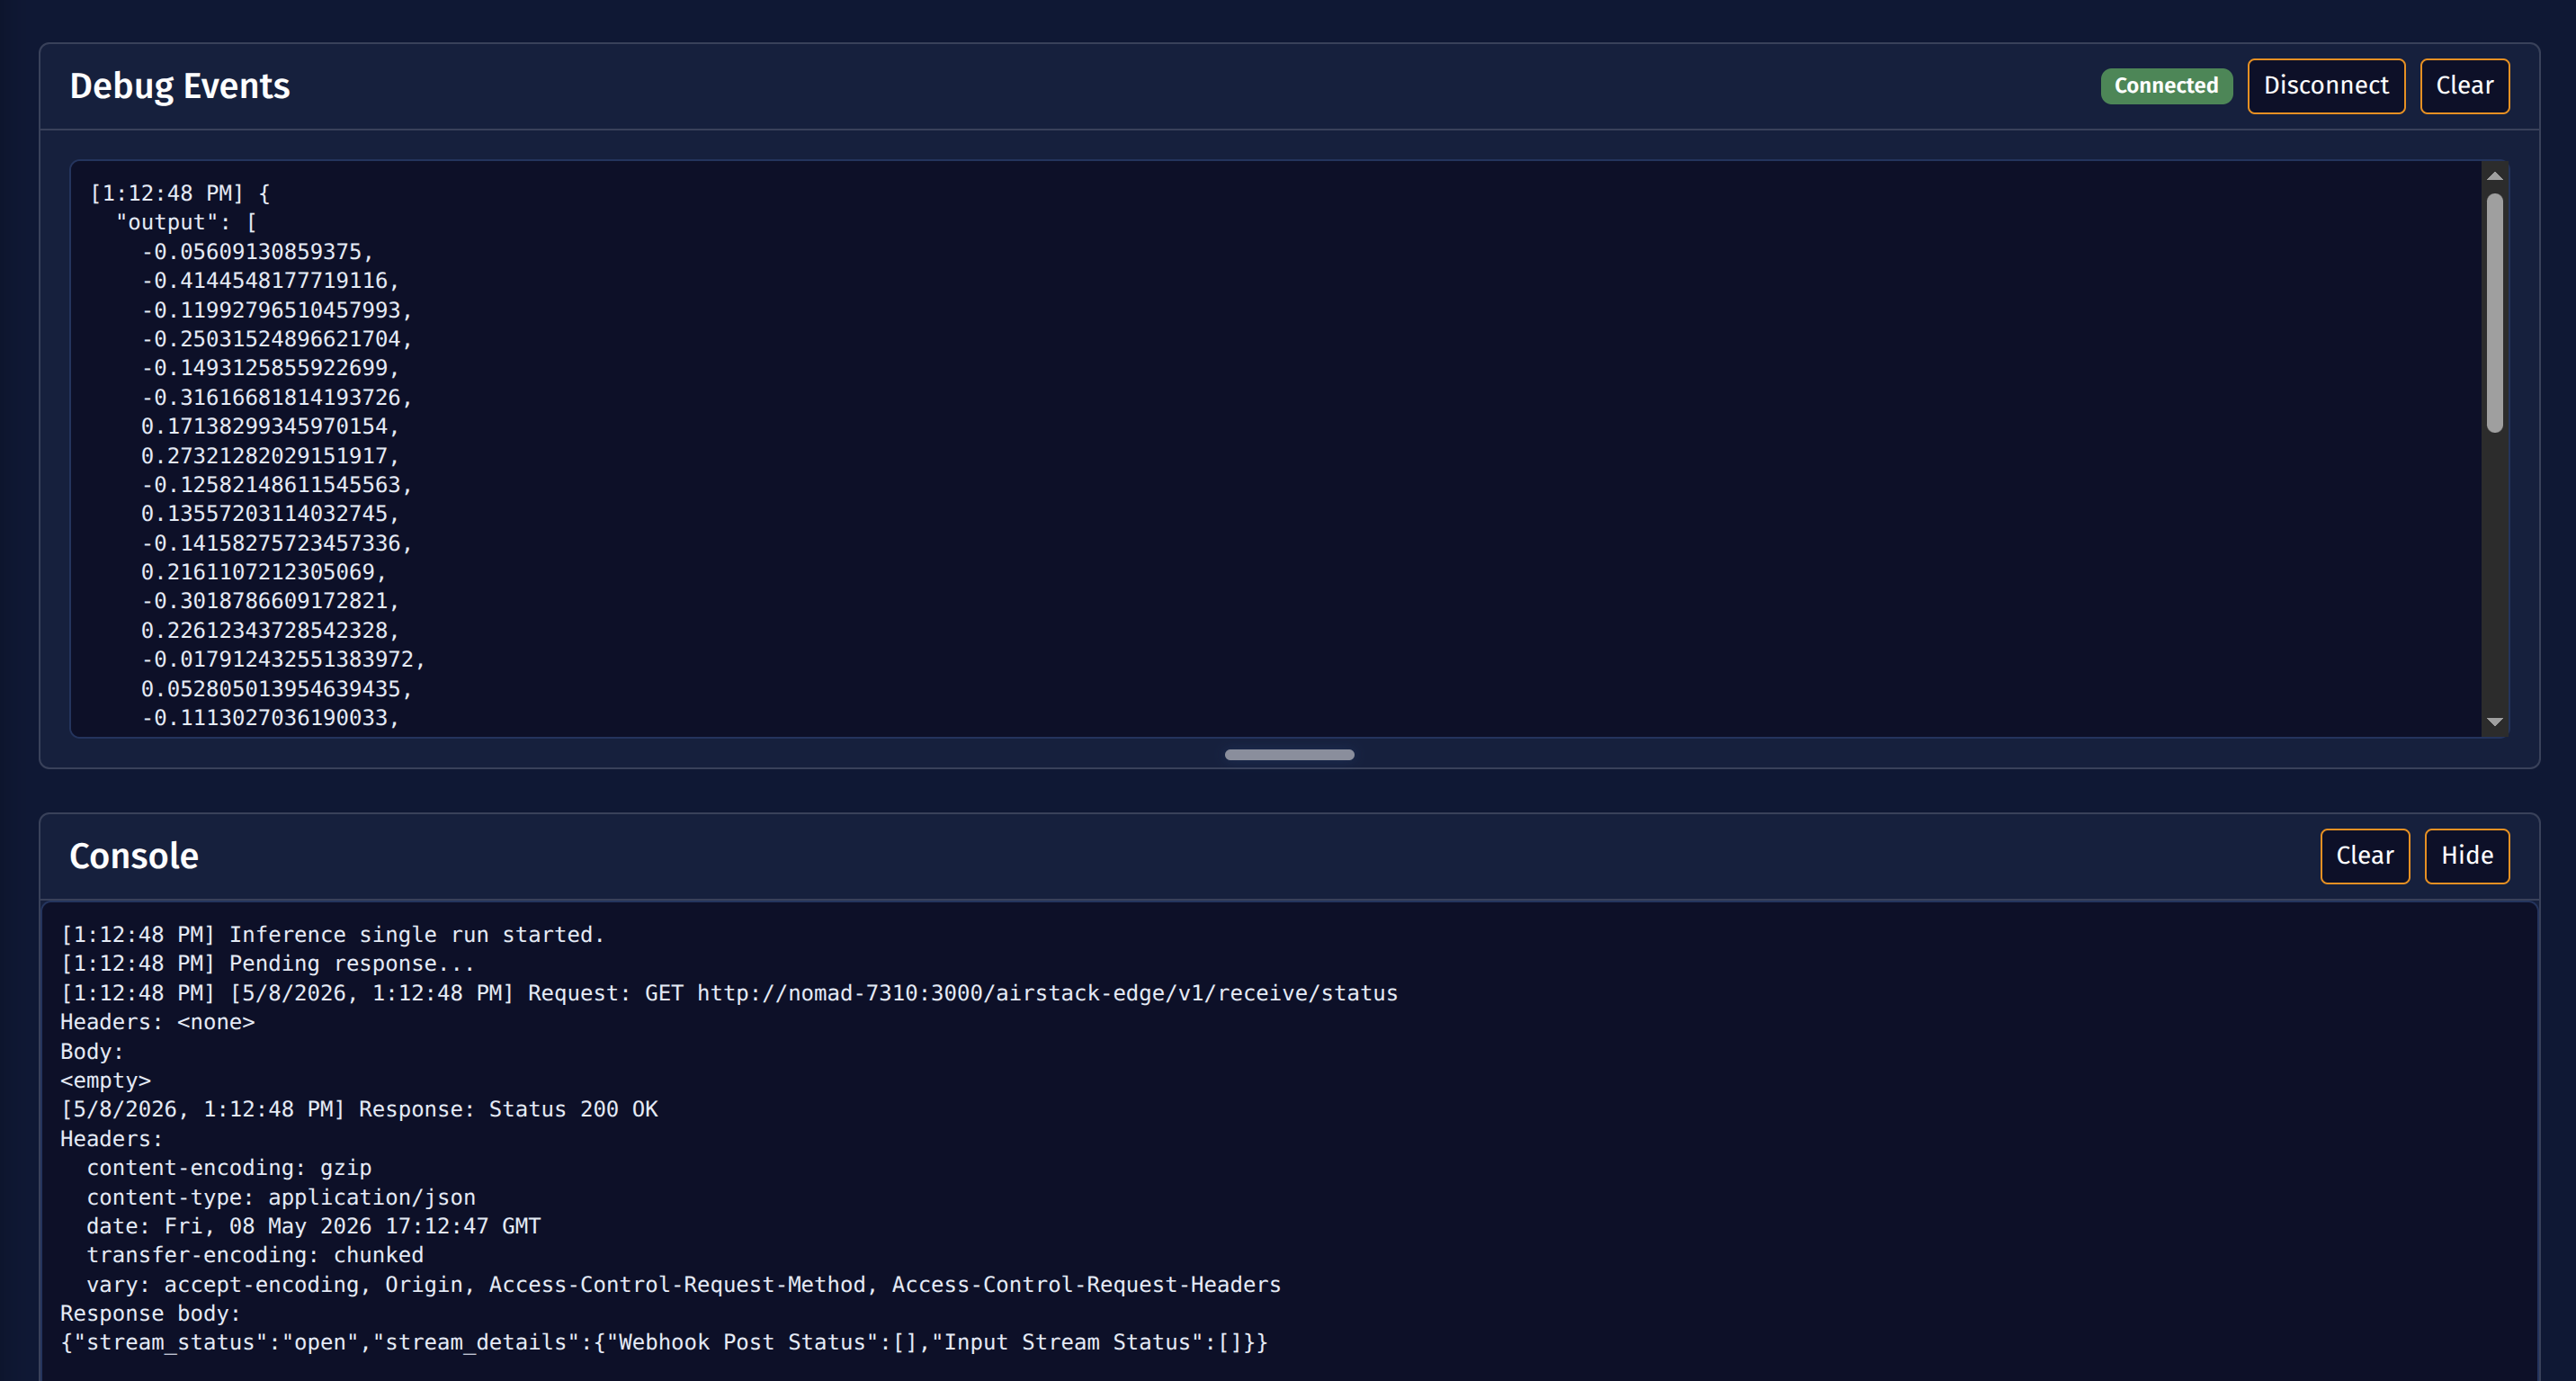
The Debug tab in the client UI is useful for troubleshooting webhook delivery and inspecting application output without relying on a succesful webhook post. When AirStack Edge is running in development mode, webhook payloads are also mirrored to the Debug tab over Server Sent Events (SSE). This gives you a live view of the results Edge is producing and attempting to publish, to determine whether a problem is in the application output itself, the webhook configuration, or the network path to the receiver.
- Open the Debug tab.
- Verify that application output events are being produced and posted to your webhook.
- Watch the terminal running
fft_webhook_receiver.pyfor JSON summary lines. - Open the generated PNG files in the
fft_plotsdirectory to view each FFT magnitude plot.
Debugging
- Use the Console panel at the bottom of the UI to inspect responses, errors, and validation messages.
- If the webhook does not receive results, confirm that the receiver host firewall allows the selected port and that the Edge device can reach the receiver URL. For more information see the application note on webhooks here
- The webhook authentication string in the UI must exactly match the value passed to
--authincluding the type of auth ieBearer <key>.